Yana's Tulips Collection Press + Foil hot foiling, Stencil, Die-cut & Ink Blending Techniques
Greetings. Welcome to my blog. It's Gaylynn. I'm excited to share two different Spring cards made from tulips for garden scenes. I used different techniques on each card with items from Yana's Tulips Collection by Spellbinders Paper Arts. I focused on hot foiling, stenciling, die-cutting and ink blending techniques. Also, on one card, I added chipboard stickers for embellishments and an uplifting sentiment. The project supplies and a short video are included below. As always, use what you have to make similar cards.
The full Linkdeli supply page for this project is at this link:
See the short tulip windmill VIDEO.
See the smile tulips VIDEO
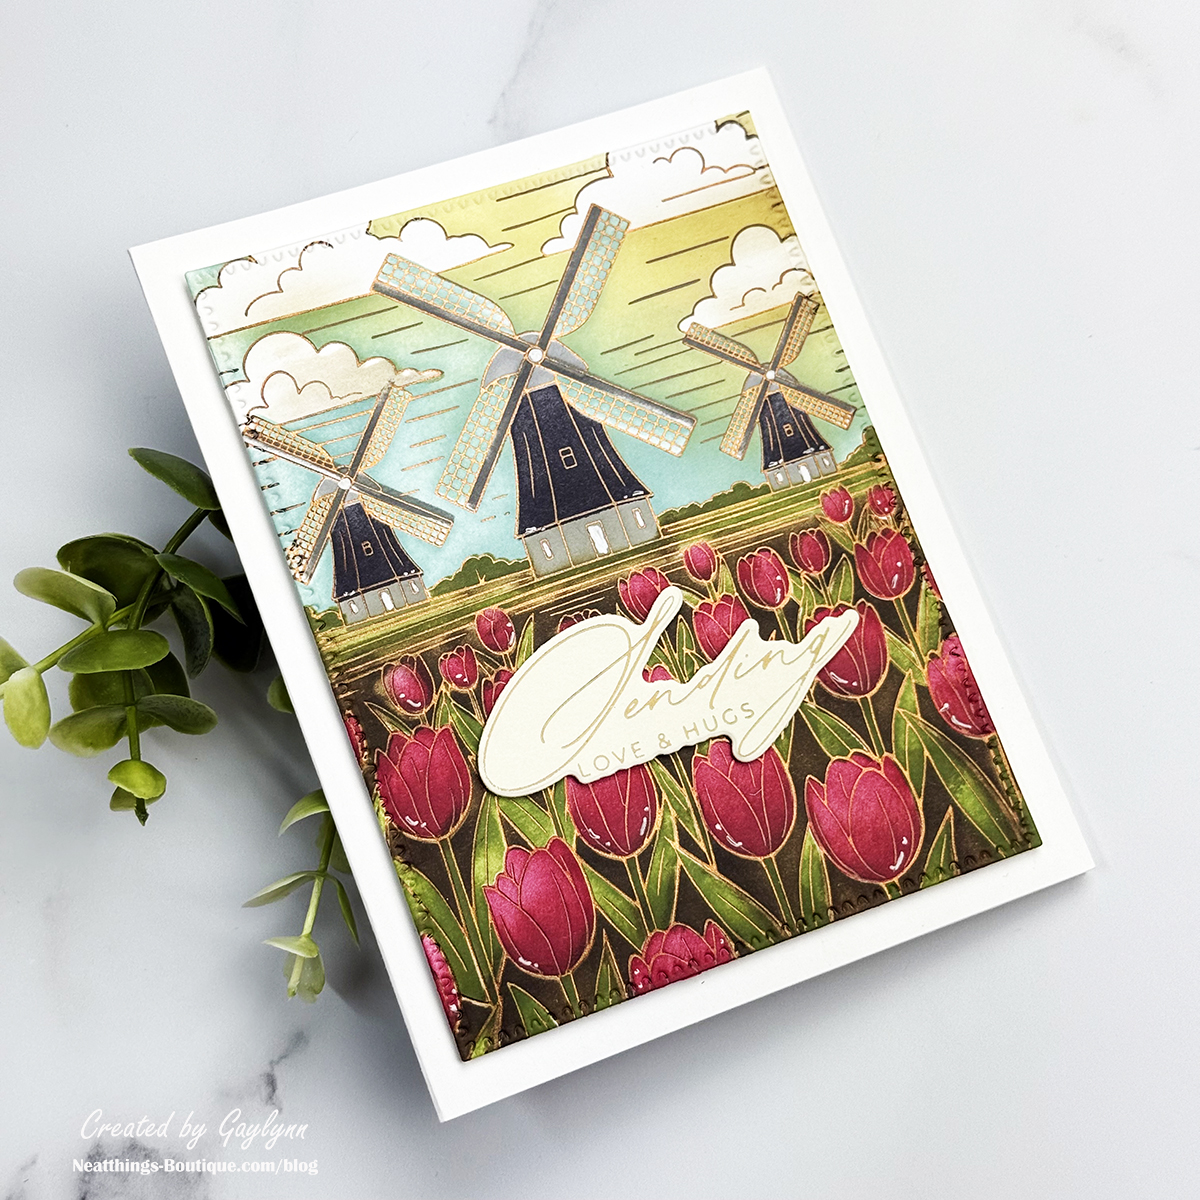
Take a look at the tulips and windmill card.
Sentiment: Sending love & hugs.
Helpful Tips:
Precut and score a vertical card base 4 1/4" x 5 1/2" from white Colorwheel cardstock.
Over smooth white cardstock, hot foil the Windmills and Tulips Press + Foil Plate by Yana Smakula using copper hot foil and the Glimmer Hot Foil System.
Using the Windmills and Tulips Press + Foil Plate and Stencil Bundle, stencil color over the entire background using all of the stencil layers, dye inks and ink blending.
Die-cut the background frame using a stitched rectangle die approx 4 " x 5 1/4".
Press and die-cut a sentiment from Crafty Hugs.
Layer and adhere everything over the card bases using double-sided foam, flat tape or glue.
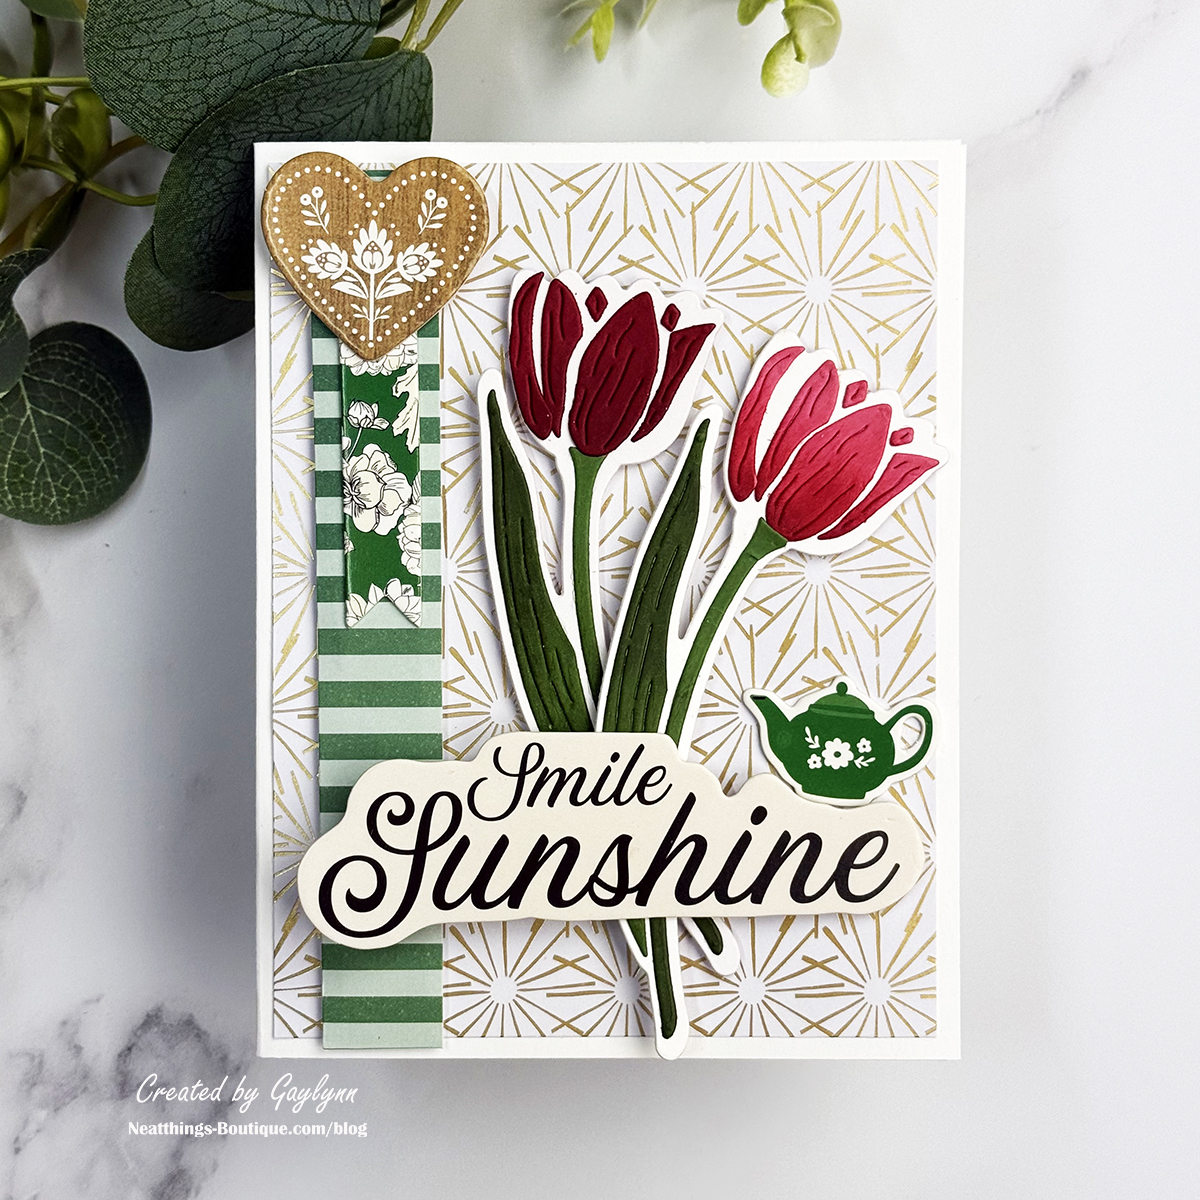
Next, see the die-cut tulips card.
Sentiment: Smile Sunshine
Helpful Tips:
Precut and score a vertical card base 4 1/4" x 5 1/2" from white Colorwheel cardstock.
Using the tulip dies bonus item included in the Tulips I Want It All! Bundle, die-cut two tulips in different petal colors.
Ink blend over the die-cuts in coordinating dye ink colors.
Assemble the tulips with precision glue.
Trim a rectangle background and a side border from patterned paper.
Choose embellishments from chipboard sticker sheets for the sentiment and icons.
Adhere it all over the card base using glue or double-sided adhesive.
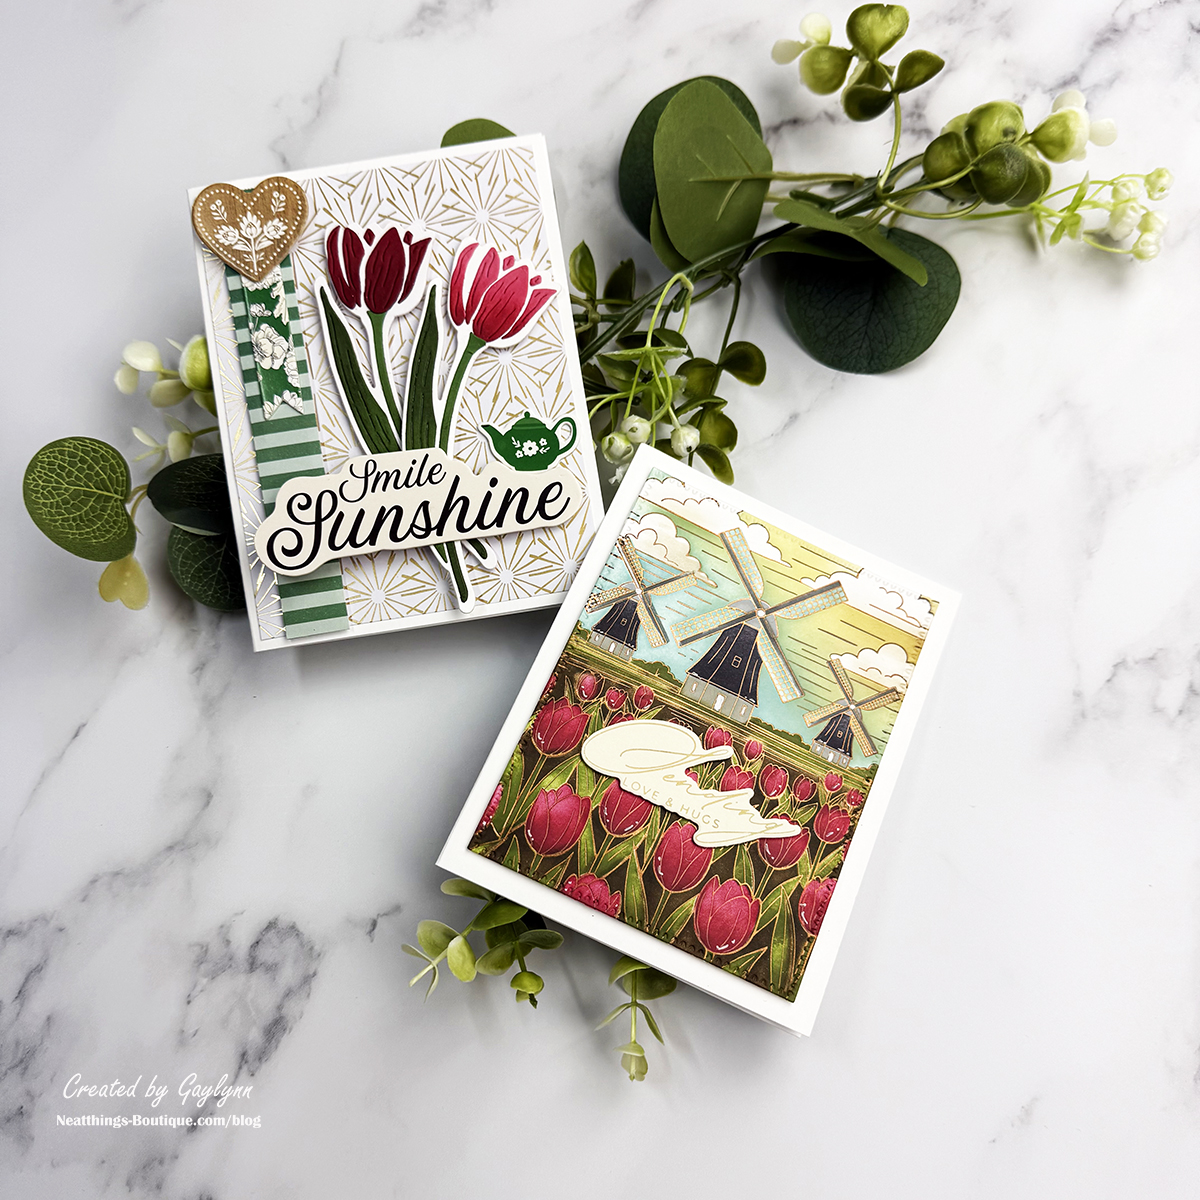
Finally, take another look at the pair of cards in this tulip-themed collectionl
Get my Newsletter for my crafty updates, plus a FREE CARD CLASS online for subscribing using this button!
Here is the link again to the affiliate supply page for this project:
For your convenience, I keep this page updated with crafty deals and shops where I find my supplies, solutions and services.
My Favorite Shop, Services and Events.
Thank you for stopping by. Please take a moment to leave a comment and to say hello.
Log in or create an account to comment and interact.
Have a wonderful day,
Gaylynn
My Crafty Shops
Where to find my most loved crafty products, services & events.
This section includes affiliate links to shops I love and use. As an affiliate and Amazon Associate, I earn from qualifying purchases. I may receive a small commission for the referral but at no cost to you.