Press and Foil Betterpress Registration Hack using Glimmer Hot Foil System + All Clubs Crate Bonus
- Gaylynn Martling
- Ink Blending, Die-cutting, Spellbinders Paper Arts, Hot foiling, Betterpress, Gold Accents, Shimmer, Stencil, Floral, Metallic, Friendship, Distress Mediums, Just because, Hello, Thinking of you, greeting card
Hello friends. Welcome to my blog. Today, I have a special treat for you. I have two card projects using different techniques with the same collection of products. Check out a Betterpress press and foil registration hack using the Glimmer system. You will see Glimmer hot foil accents, intricate die-cutting, stenciling and ink blending. I am featuring some of the newest Club kit selections and bonuses, which are new for 2026. Be sure to scroll down for each project and the full video tutorial. It is easy to do these techniques with items that you may already have in your crafty stash.
Today is the opening of new signups for the monthly kit clubs at Spellbinders Paper Arts. Existing club members can also change up their monthly kits if desired. I detail more about the offerings below. But first, today's project incorporates the Press and Foil Club of the Month for January 2026. It includes a brand new Press and Foil background plate, sentiment plate, plus a Polished Brass hot foil roll. For both of my projects, I used two bonus items, which are included in the January 2026 All Clubs Crate. One is the Post Card Hello Stencil set, which corresponds with the press and foil plate. The other is an intricate die set, Everbloom, that I detail in today's second project. See the full supply list and a video linked below.
Please note, the Spellbinders subscription sign-up window will open on the 6th of each month and closes on the 27th (once existing club members' subscriptions have been processed.) If there is additional inventory remaining, then they will be made available for new subscriptions and will have limited availability.
~ Learn about all of the different Club Kits available at Spellbinders.
~ ALL CLUBS CRATE: The monthly membership all-inclusive box at 60% savings. Here are examples of included clubs. See the page for current details.
Small Die
Large Die
Stitching Die
Clear stamp & Die
Embossing Folder
3D Embossing Folder
Press and Foil Plate
Stencil
Bonus Items
The full project affiliate supply list page for this project is at this link:
The full-length video tutorial for the two card projects:
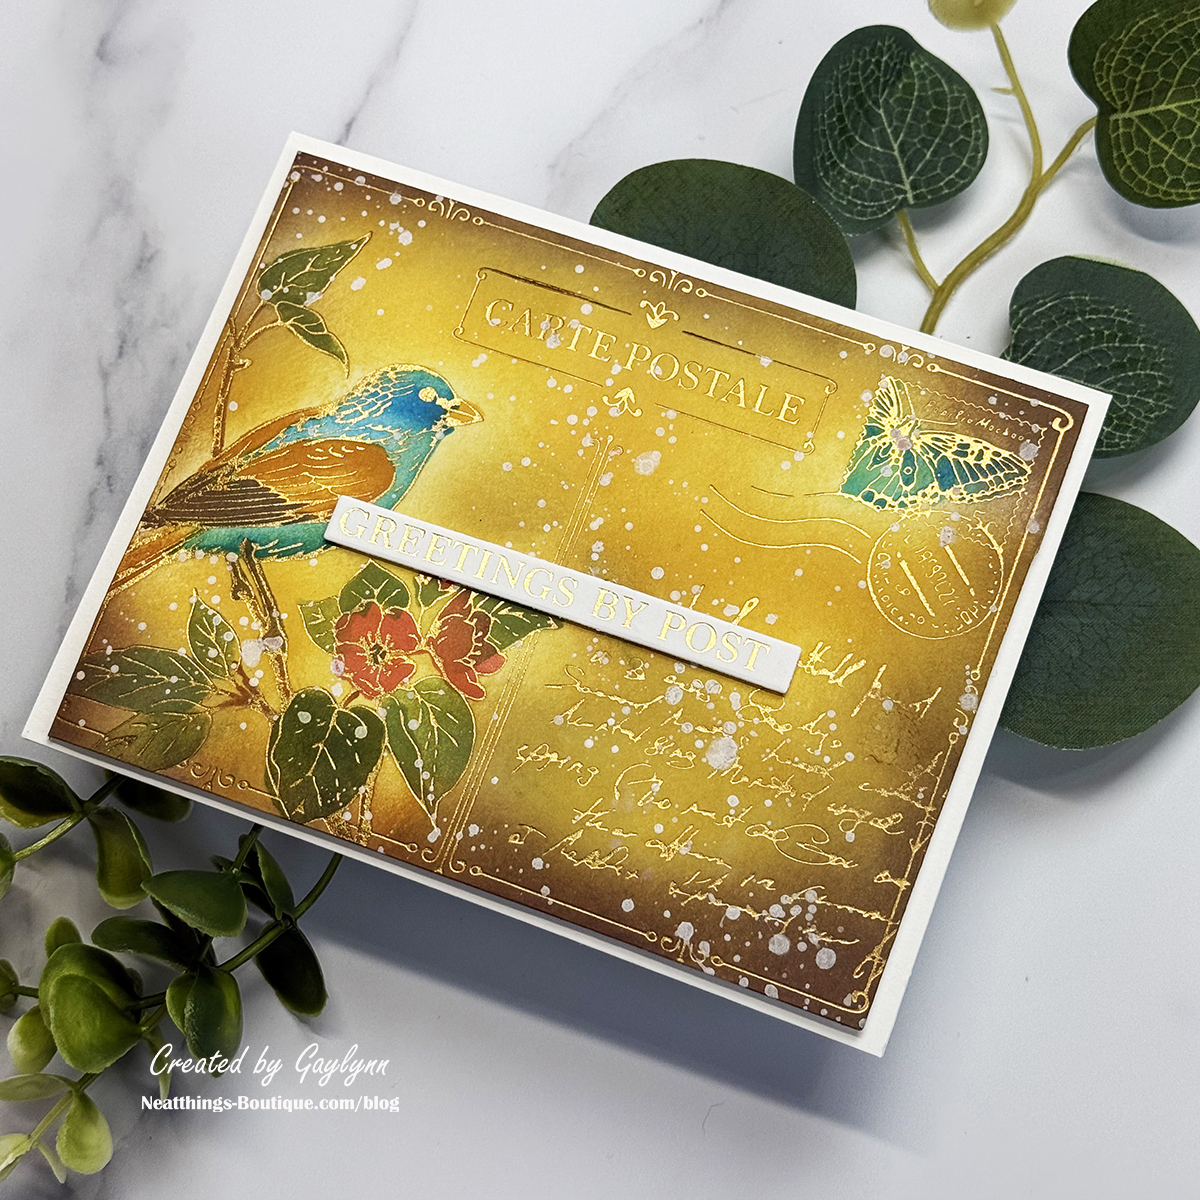
Here is another look at the Betterpress press and foil card.
Sentiment: Greetings by post.
Helpful Tips (press and foil card):
Preheat the Glimmer Hot Foil System platform.
Precut and score a white card base horizontally 4 1/4" x 5 1/2".
Trim an oversized smooth white cardstock panel for foiling preparation.
Make a photocopy of the included acetate registration guide, then trim the copy panel approximately 4 1/2" x 5 3/4". (DO NOT USE THE ACETATE REGISTRATION GUIDE DIRECTLY ONTO THE GLIMMER HOT FOIL SYSTEM PLATFORM, as it will melt. However, the registration acetate works perfectly using the Betterpress platform.)
An option, instead of foiling: Ink the press plate in different colors using the Betterpress platform with the acetate registration guide.
Place and temporarily adhere the trimmed photocopy onto the preheated Glimmer system.
Place and temporarily adhere the press plate over the registration copy, lining up the guides.
Hot foil onto the cardstock using the Betterpress press and foil background plate, sentiment plate, a large piece of the hot foil roll (the pretty side facing the plate and the white cardstock.) I foiled twice, once with the big plate and again with the sentiment plate.
Using a paper trimmer, trim the large foiled panel 4" x 5 1/4".
Using the coordinating bonus item, Post Card Hello Stencil, ink blend over the matching foiled sections.
Ink blend the panel for a vintage look using dye or distress ink blending.
Die-cut the foiled sentiments.
Layer and adhere the foiled layer with one of the sentiments onto the card front.
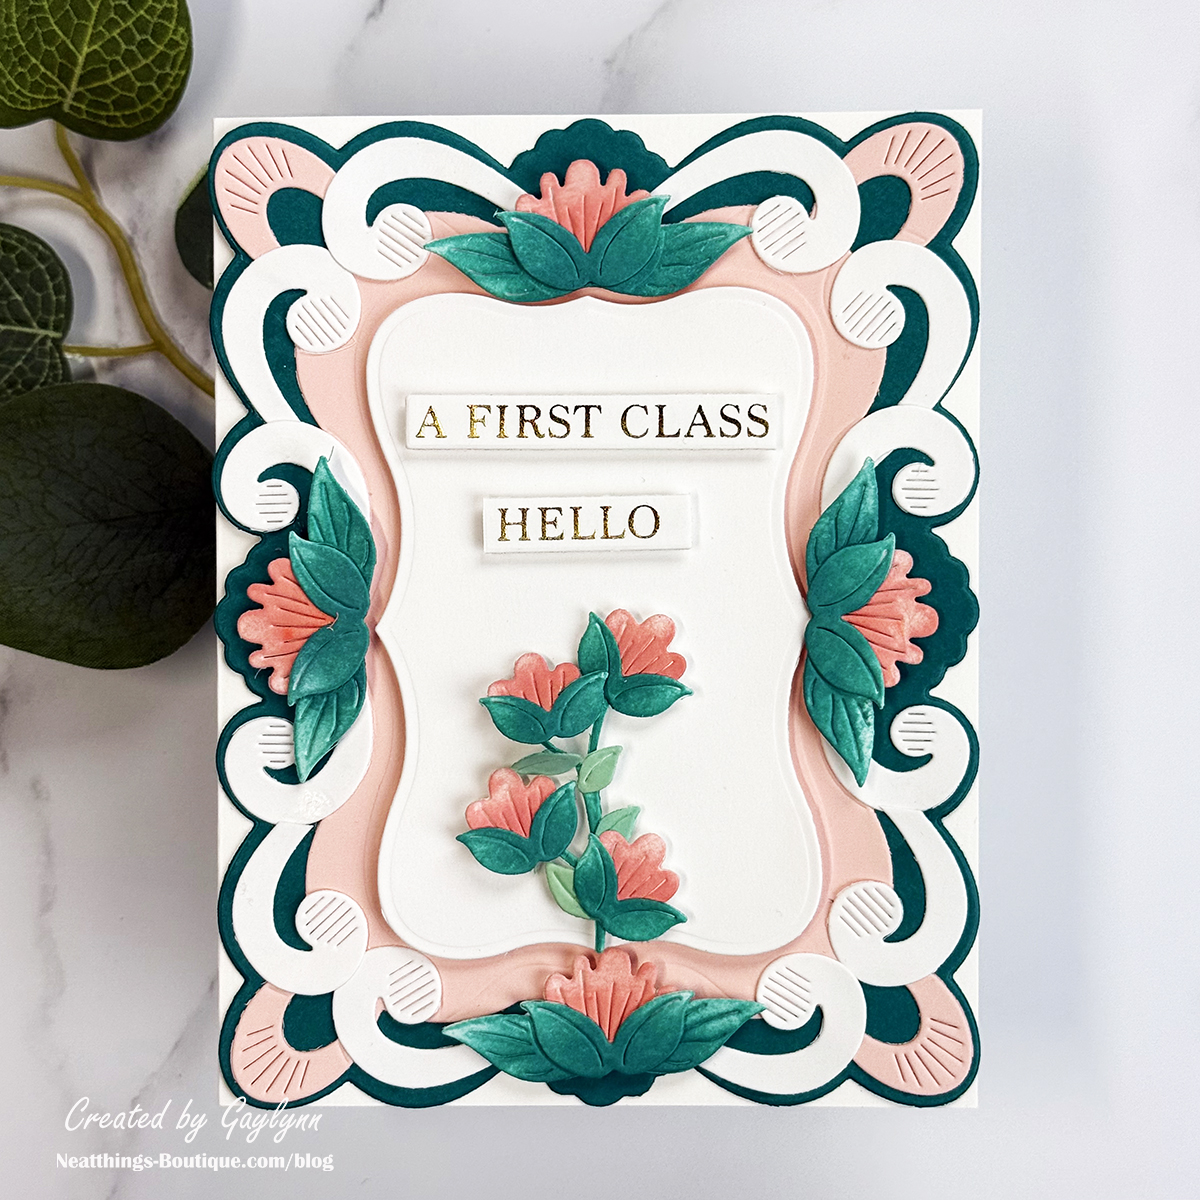
This is a look at the intricate, layered floral hello card.
Sentiment: A first class hello.
Helpful Tips (die-cut hello card)
Make a vertical card base in white 4 1/4" x 5 1/2" folded.
Die-cut the frame layers and the elements.
Ink blend and assemble the flowers and leaves.
Adhere elements using flat and foam double-sided tape or glue.
Assemble and layer the frames, flowers and a hot foil sentiment over the card base.
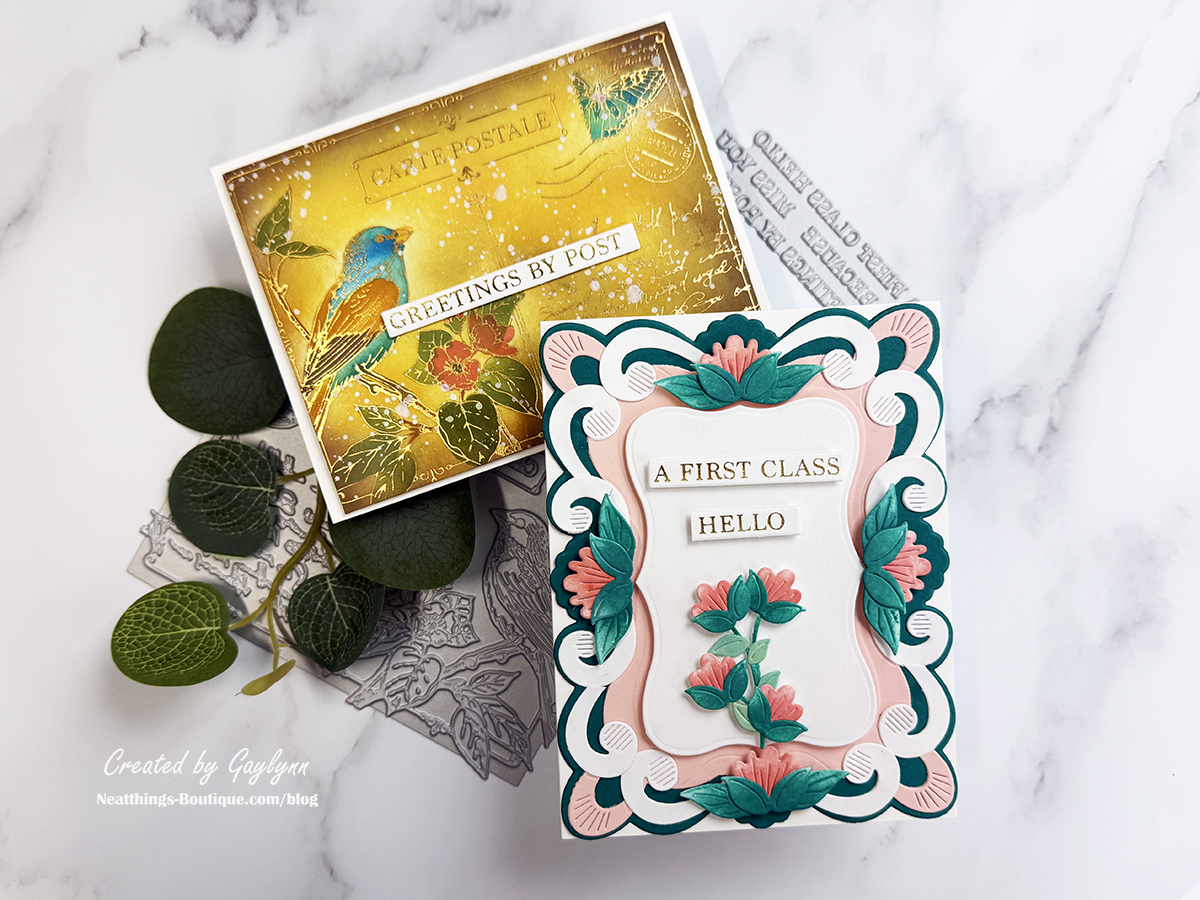
Finally, this is a closer look at the pair of cards.
Get my Newsletter for my crafty updates, plus a FREE CARD CLASS online for subscribing using this button!
Here is the link again to the affiliate supply page for this project:
For your convenience, I keep this page updated with crafty deals and shops where I find my supplies, solutions and services.
My Favorite Shops, Events & Services.

Thanks kindly for being here. It means the world to me.
Please take a moment to leave a comment and to say hello.
Just log in or create an account to comment and interact.
Best,
Gaylynn
My Crafty Shops
Where to find my most loved crafty products, services & events.
This section includes affiliate links to shops I love and use. As an affiliate and Amazon Associate, I earn from qualifying purchases. I may receive a small commission for the referral but at no cost to you.