3D paper peony flower card making + how to deliver thick cards
- Gaylynn Martling
- Ink Blending, Die-cutting, Spellbinders Paper Arts, Hot foiling, Embossing folder, Betterpress, Gold Accents, Shimmer, Floral, Metallic, Friendship, Thank you, Dry embossing, No coloring, Support, Spring, greeting card
Welcome to my blog, Gaylynn here. Here is my 3D peony paper flower card and ways to deliver thick cards. To make this, I made a 3D peony flower ahead of time for today's card, along with a gold hot foil sentiment. The flower was fun to make using die-cuts and shaping. Because the peony was used on a greeting card, I share ways to present thick finished cards for hand delivering and for mailing. I used products from the Peonies dies set and a sentiment press and foil plate. I included the project supplies and a short video below of the assembly. As always, use what you have to make similar cards.
The full project affiliate supply list page for this project is at this link:
See the short VIDEO.
Helpful Tips:
Precut and score a vertical card base 4 1/4" x 5 1/2" from white Colorwheel cardstock.
Die-cut the peony layers using the peony die set and color cardstock.
Ink blend each of the petals and leaves before assembly.
Shape each petal and leaf using a shaping tool.
Adhere the flower layers using hot glue or strong glue.
Die-cut then dry emboss a white background layer using a 3D embossing folder and the white frame layer from the large deckle edge die.
Die-cut a card front layer and frame using rectangle dies and color cardstock in raven and bellini.
Hot foil the sentiment from the Sentiments Press + Foil Plate & Die Set
Layer and adhere everything over the card base using thin double-sided foam tape or glue.
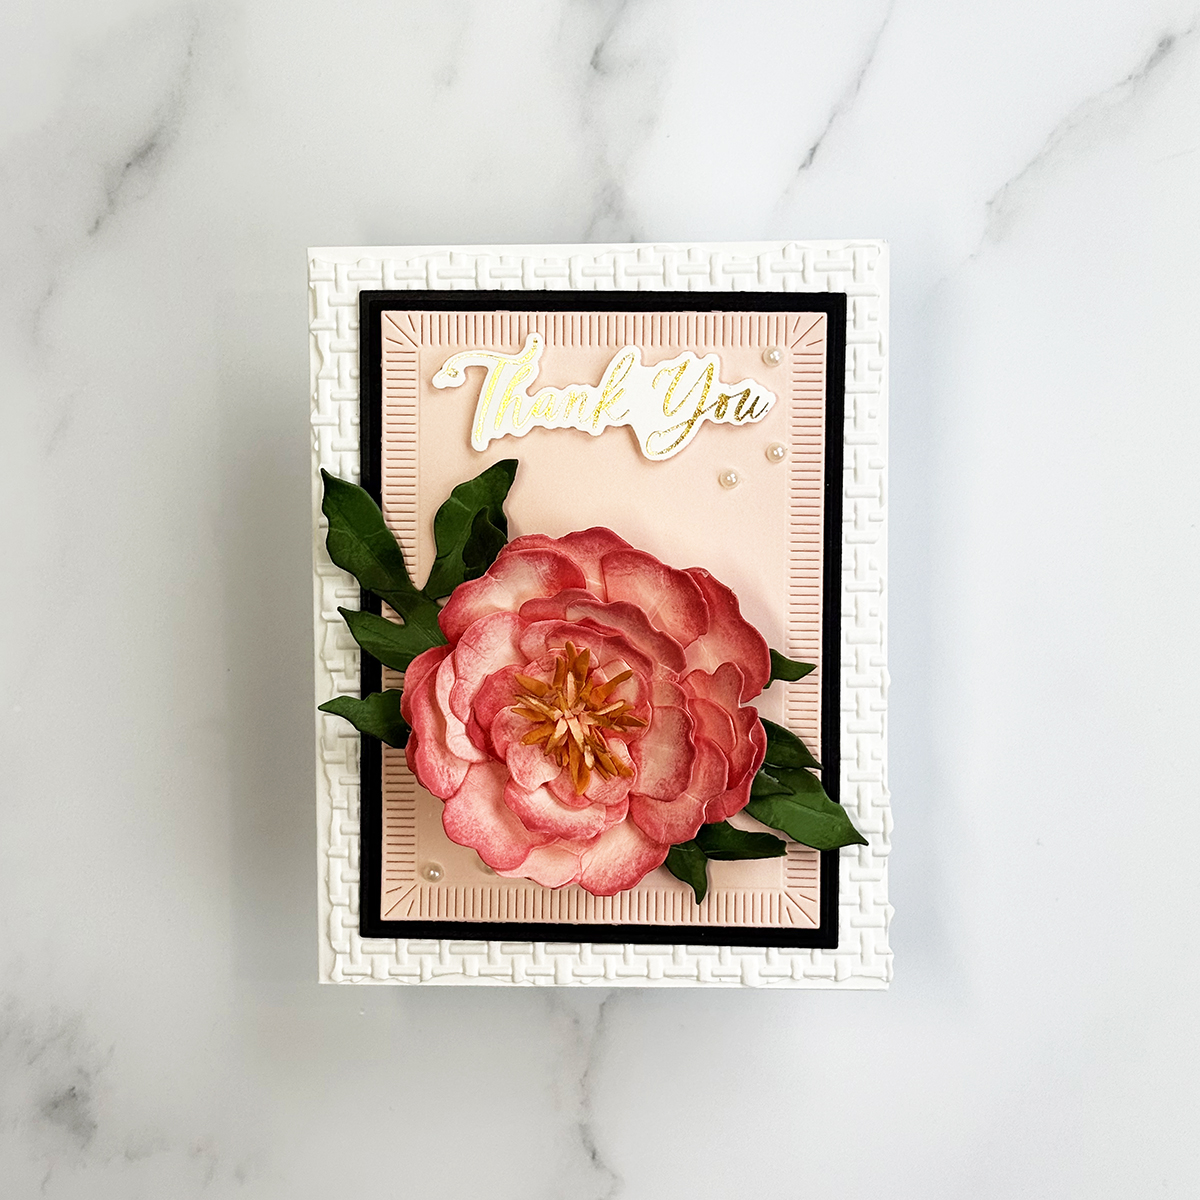
First, here is a look at the finished card.
Sentiment: Thank you.
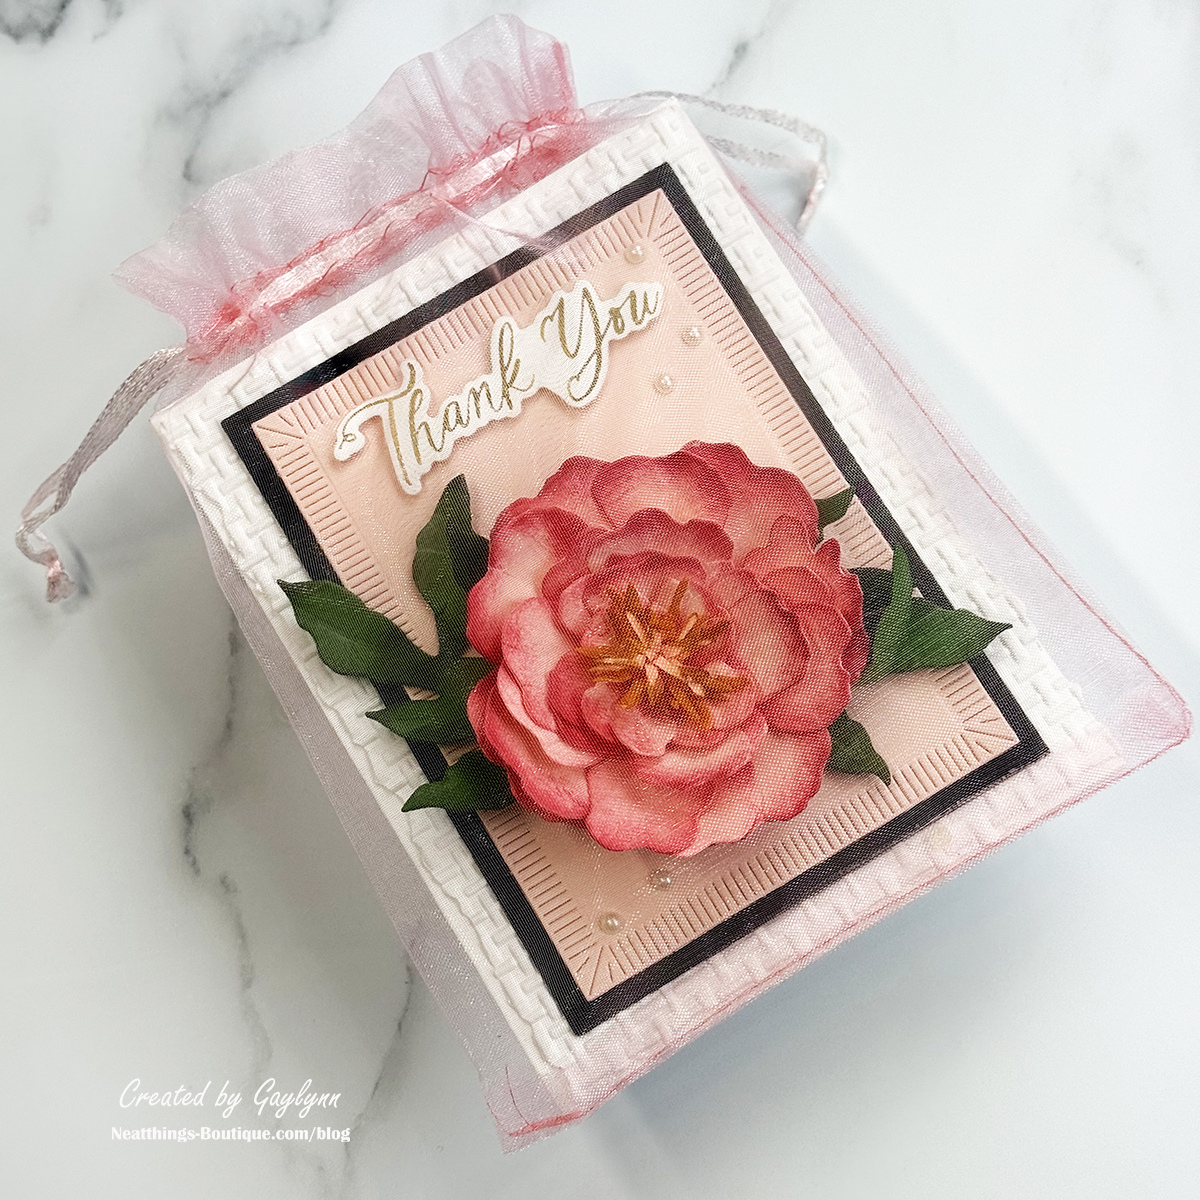
How to present and deliver your thick cards:
You may be wondering how to present or mail thick 3D card projects. I have a few suggestions that work for me.
Hand deliver with a mesh drawstring bag for a pretty wrapped presentation. (pictured below)
-
Package the card inside of a card box. I have white card size boxes with clear lids with silver stretch ties. You can also cut and score cardstock to make a card box. Otherwise, wrap it in tissue paper before mailing. Either way, I recommend that you mail thick cards using a bubble mailer envelope or a small box and ship at the package rate.
-
Standard card envelopes will not work in the mail for projects like this. But if you want to mail a thicker card that does fit inside the envelope, use non-machineable stamps from the post office. Also, weigh the item before mailing. If over an ounce, extra postage is required. Most of the time, thick cards weigh over an ounce. I keep a scale for this purpose. Get a shipping estimate online at USPS based on size, weight and zip code of the recipient.
You've done the work of creating a pretty card. Present it so that it arrives just as pretty and without damage. That, to me, is worth the extra steps and cost of shipping.
Here is my presentation example to hand deliver or to place inside of a box for mailing.
Get my Newsletter for my crafty updates, plus a FREE CARD CLASS online for subscribing using this button!
Here is the link again to the affiliate supply page for this project:
For your convenience, I keep this page updated with crafty deals and shops where I find my supplies, solutions and services.
My Favorite Shop, Services and Events.

Thank you for stopping by. Please take a moment to leave a comment and to say hello.
Just log in or create an account to comment and interact.
Best,
Gaylynn
My Crafty Shops
Where to find my most loved crafty products, services & events.
This section includes affiliate links to shops I love and use. As an affiliate and Amazon Associate, I earn from qualifying purchases. I may receive a small commission for the referral but at no cost to you.